How to Make Seed Tape for Easy Spring Planting
Spring planting is (finally) upon us! You may already have some plants in the ground depending on where you live, or you may be just starting to clean up and prep your garden space. Wherever you may be in your process, it's always nice to figure out a way to streamline things a little bit. That's why some clever person invented seed tape, a roll of perfectly spaced seeds contained in a strip of paper that you can cut to whatever length you want. But rather than spending the extra money to purchase seed tape, especially if you already have seeds at home, why not make your own instead? :-)
I love this project from Jessica of Mad in Crafts for several reasons. It's easy to make, incredibly economical, and it lets you plan out your planting beforehand, which saves time when you're ready to plant. It also helps prevent seeds from being washed away or forced too deeply into the soil when they are first watered.
Every year without fail, the morning I set aside for planting turns into a full-day project. Utilizing seed tape speeds up this process considerably, because you won't be trying to dig individual seeds out of your packet and placing them in individual holes.
Instead, it's as easy as digging a trench to the proper depth & length, rolling out the seed tape, and covering it with dirt!
Start in the morning, and you'll be done before lunchtime!
How To Make Your Own Seed Tape
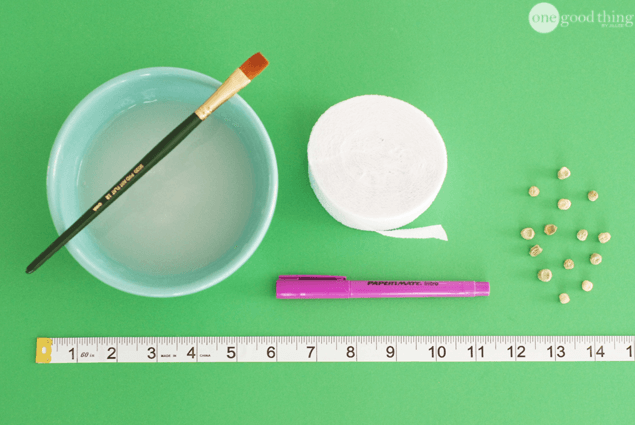
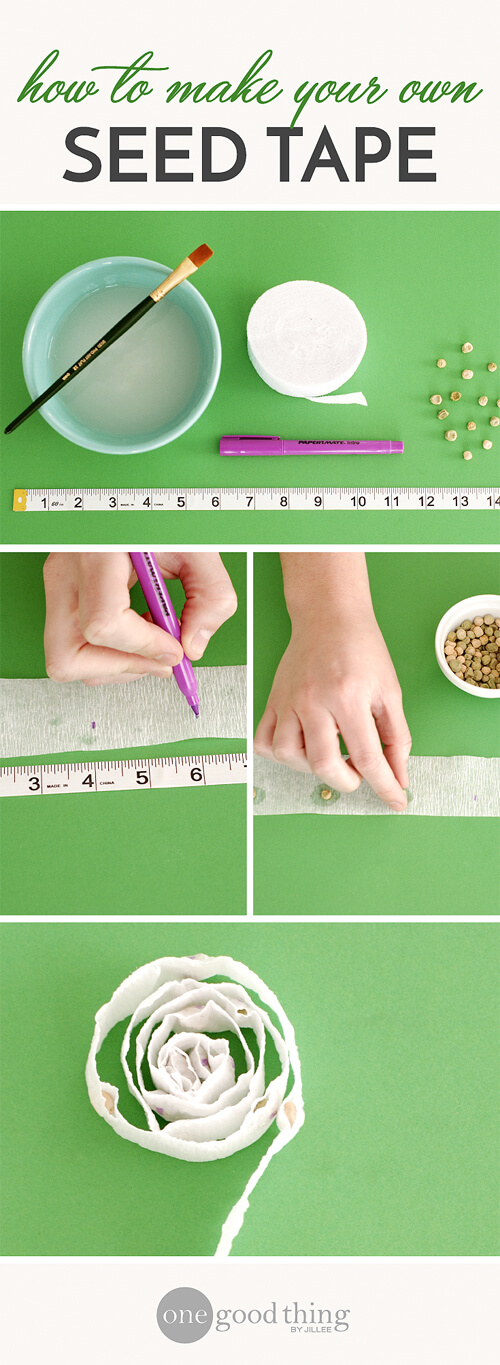
Here's what you'll need:
- White party streamers
- Measuring tape or ruler
- Marker
- Seeds
- Prepared cornstarch "glue" (recipe below)
- A small paintbrush (optional)
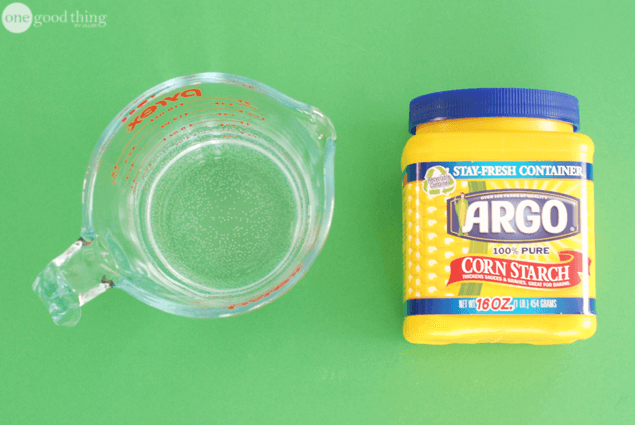
Your first step is to make a simple plant-based "glue" that will help your seeds stay in place on your "tape." In a small saucepan, combine one cup of water and one Tablespoon of cornstarch, and mix well. Cook the mixture over medium heat, stirring almost constantly, until it starts to boil and make a gel.
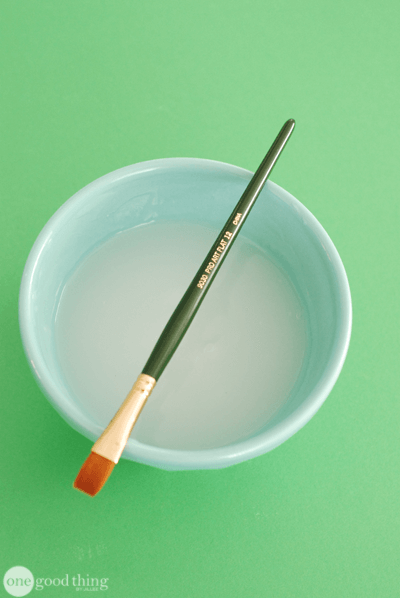
Once it has gelled, remove the pan from heat and allow the mixture to cool to room temperature.
Once your glue is ready, you can start preparing your streamers. I would recommend using white streamers, to reduce the chance of colors seeping into your soil when you plant your tape. Cut a piece (or several, if you're making seed tape for multiple plants) of your white party streamer to the length you want your row to be.
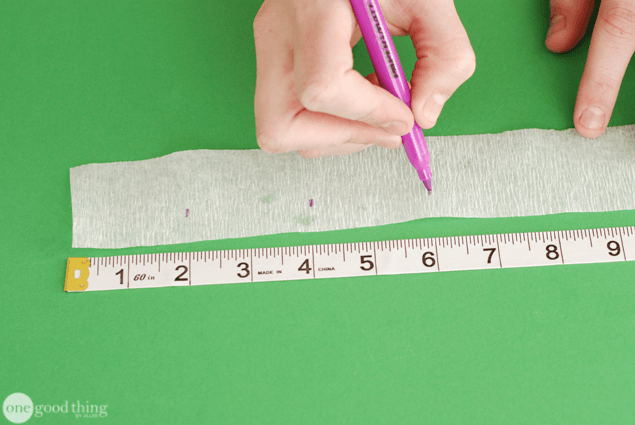
Next, use a measuring tape or ruler to measure out the recommended spacing between the seeds, as per the back of your seed packet. Mark the intervals on one side of the streamer with your marker. (You're eventually going to fold the streamer in half length-wise, which is why you want to make the marks off to one side.)
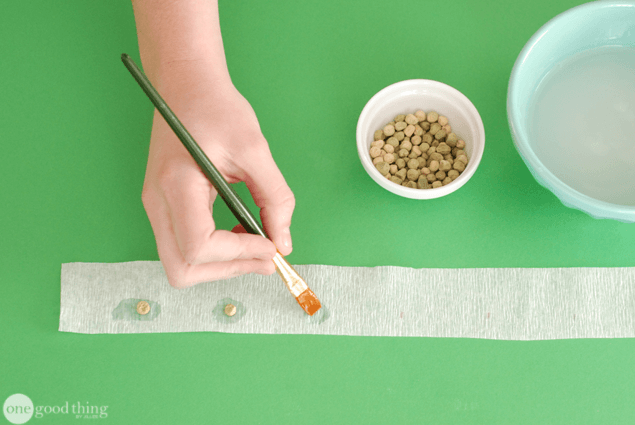
I made my seed tape using peas, so I made a mark at 2-inch intervals along my streamer.
Next, use a small paintbrush or your finger to place a dab of your cornstarch glue onto each mark, and place a seed onto the glue. Do this for each mark on your streamer.
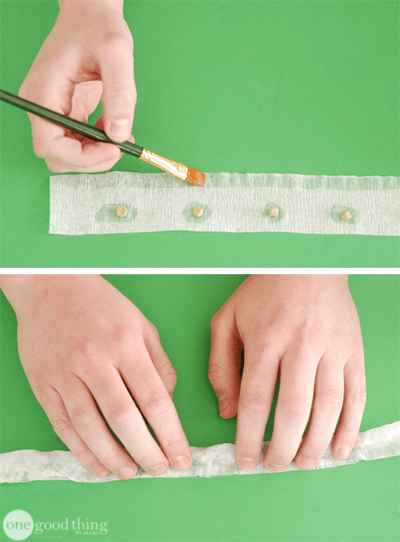
Finally, apply a line of cornstarch glue to the edge of the un-seeded half of the streamer, and fold it over on top of your seeds. Use your fingers to press the edges of the seed tape together, making sure to seal it well.

Allow the cornstarch glue to dry completely, then carefully roll up your seed tape and store it somewhere safe until you're ready to use it. The cornstarch glue will be enough to keep the seeds in place, but it isn't nearly as strong as a commercial glue, so try to be gentle. And make sure to label your seed tapes, so you don't forget which seeds are inside!
This is a perfect project to involve your kids or grandkids in, and you'll be reaping the benefits come planting time. Happy gardening! :-)

Source: https://www.onegoodthingbyjillee.com/how-to-make-seed-tape-for-easy-spring-planting/
0 Response to "How to Make Seed Tape for Easy Spring Planting"
Post a Comment